
Brazilian Cheese Bread – Disney Test Kitchen
Recreating the pão de queijo or Brazilian cheese bread that you can find at the Epcot Food & Wine Festival is easy, and delicious!
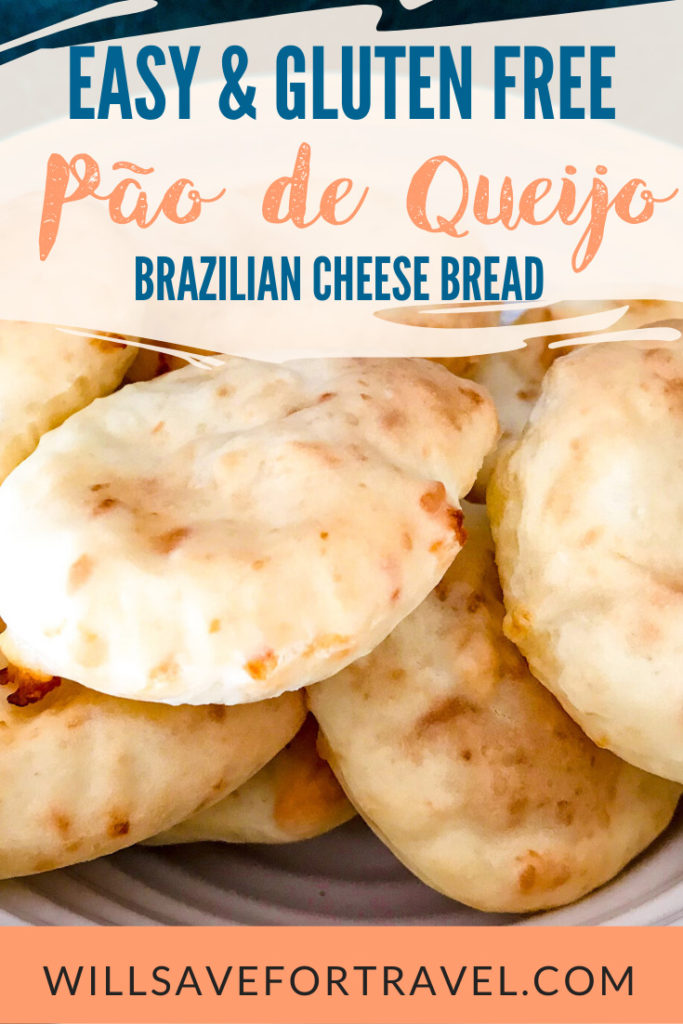
We have been having fun trying to make Disney treats at home! I polled you on Instagram & Facebook on what we should make next, and we decided it should be pão de queijo – Brazilian cheese bread that you can find at the Brazil booth of the Epcot International Food & Wine Festival.
I’ll be honest, I have made these a few times – and they are always yummy! I love the gooey cheesy centres of these. I have also had them at the Food & Wine Festival.


These delicious little pillows of cheese are gluten free because they are made with tapioca flour! Finding tapioca flour might be difficult depending on where you live – I always find it at my local bulk food store, which is great because you can buy just the right amount. Bobs Red Mills also makes it. Sometimes it is called tapioca starch; it’s the same thing! You can not substitute the tapioca flour for anything else, the texture will not be the same.
Check out the best gluten-free snacks you can find at Disney World!
Disney hasn’t released their “official” recipe for these, but I have consulted many food blogs, including those written by Brazilians. The recipes found online can vary since each family tends to put their own spin on the recipe by adding different cheeses or spices. The recipe I used is pretty simple; only 8 ingredients!
Note: pão de queijo is best when eaten fresh & hot. This recipe makes about 30 rolls. If you can’t eat that many right away you can form the balls and freeze them, then cook them fresh whenever you have that craving!
[mv_create title=”Brazilian Cheese Bread – Pão de Queijo” type=”recipe” thumbnail=”https://willsavefortravel.com/wp-content/uploads/2020/05/Brazillian_Cheese_bread.png” key=”12″]
Final Thoughts
It’s definitely fun to re-create your favourite theme park food at home! Don’t forget to check out our Disney churros recipe!
What Disney snack should we try to make next? Let us know!


I love Brazilian Cheese bread and yours was so good! My whole family loved them and have already asked me to make them again. Your directions were so easy to follow..Thanks so much!