Brazilian Cheese Bread – Disney Test Kitchen
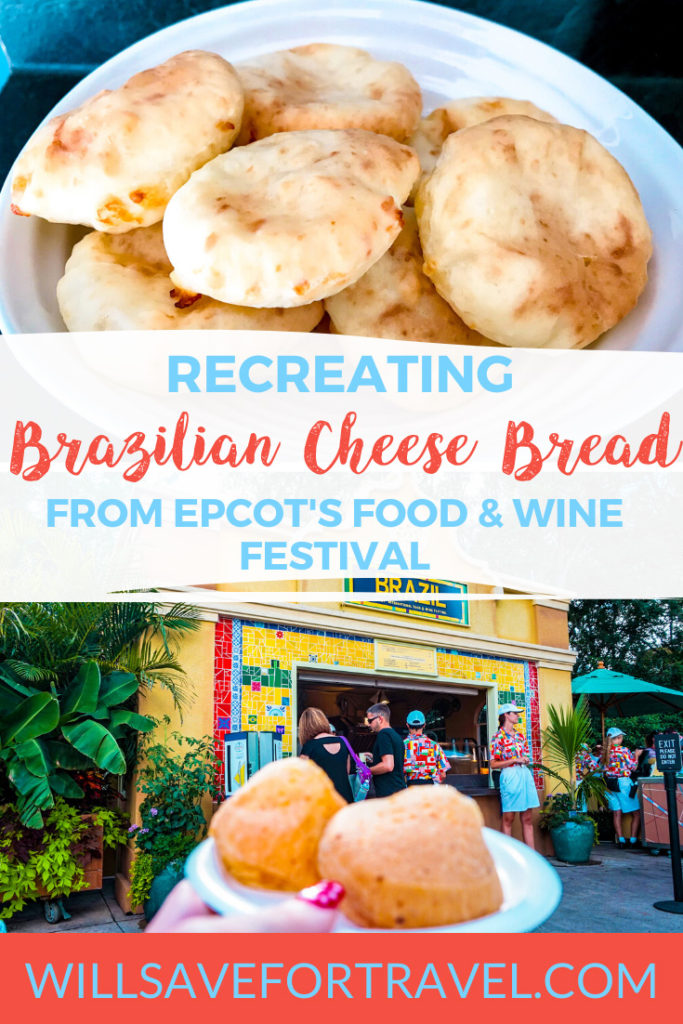
Disney Food || Tags: Disney Food ||Recreating the pão de queijo or Brazilian cheese bread that you can find at the Epcot Food & Wine Festival is easy, and delicious!
We have been having fun trying to make Disney treats at home! I polled you on Instagram & Facebook on what we should make next, and we decided it should be pão de queijo – Brazilian cheese bread that you can find at the Brazil booth of the Epcot International Food & Wine Festival.
I’ll be honest, I have made these a few times – and they are always yummy! I love the gooey cheesy centres of these. I have also had them at the Food & Wine Festival.


These delicious little pillows of cheese are gluten free because they are made with tapioca flour! Finding tapioca flour might be difficult depending on where you live – I always find it at my local bulk food store, which is great because you can buy just the right amount. Bobs Red Mills also makes it. Sometimes it is called tapioca starch; it’s the same thing! You can not substitute the tapioca flour for anything else, the texture will not be the same.
Check out the best gluten-free snacks you can find at Disney World!
Disney hasn’t released their “official” recipe for these, but I have consulted many food blogs, including those written by Brazilians. The recipes found online can vary since each family tends to put their own spin on the recipe by adding different cheeses or spices. The recipe I used is pretty simple; only 8 ingredients!
Note: pão de queijo is best when eaten fresh & hot. This recipe makes about 30 rolls. If you can’t eat that many right away you can form the balls and freeze them, then cook them fresh whenever you have that craving!

Brazilian Cheese Bread - Pão de Queijo
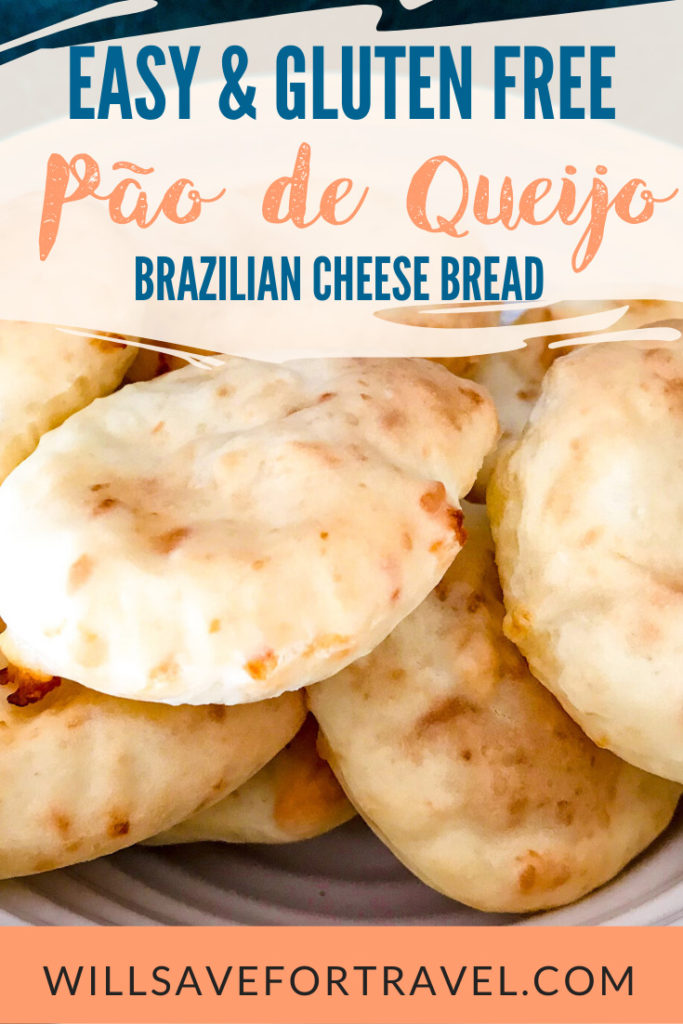
Recreating the Brazilian Cheese Bread or Pão de Queijo from Epcot Food & Wine Festival is easy and delicious!
Ingredients
- 4 cups tapioca flour
- 1 ¼ cups milk
- ½ cup water
- 6 tablespoons oil
- 1 ½ cups grated parmesan cheese
- 1 cup grated mozzarella
- 2 eggs
- 2 teaspoons salt
Instructions
- In a medium sauce pan, combie the milk, water, oil and salt and bring to a boil over medium-high heat.
- Place the 4 cups of tapoica flour in the bowl of a stand mixer. Once the milk mixture boils, pour it over the top of the tapioca flour.
- Turn on the mixer and mix well. The mixture will be very sticky looking.
- With the mixer on, add the eggs one at a time and mix until incorporated. It may look like they won't mix in but they will!
- Once the eggs are incorporated add the cheeses a little at a time and mix until they are incorporated as well. The mixture will be very sticky.
- Line a sheet pan with parchment paper and preheat your oven to 400.
- Get a small bowl of cold water, and wet your hands. To shape the balls scoop out a golf-ball sized amount with a spoon and shape with your wet hands.
- Bake for 15-20 minutes. They will look golden and puffed when finished!
- Serve warm! They lose their texture when cool, so it's best to serve them right out of the oven - see notes for freezing instructions!
Notes
This recipe makes about 30 rolls. If you can’t eat that many right away you can form the balls on a cookie sheet and freeze them until they are firm. Then store in a airtight container for up to 3 months. When you have a craving, pop them into a 400 oven and bake from frozen for about 25-30 minutes.
Final Thoughts
It’s definitely fun to re-create your favourite theme park food at home! Don’t forget to check out our Disney churros recipe!
What Disney snack should we try to make next? Let us know!


One response to “Brazilian Cheese Bread – Disney Test Kitchen”
Leave a Reply
You must be logged in to post a comment.

I love Brazilian Cheese bread and yours was so good! My whole family loved them and have already asked me to make them again. Your directions were so easy to follow..Thanks so much!